Welcome to Part 5 of the Daytona build diary. I hope you are all keeping well and have had some good outings during what I would say has been a fabulous summer this year (2022). We’ve had lots of good times with many of you from various areas with some great fun out and about in the beautiful UK countryside.
So, let us get back to talking about all things Daytona Coupe.
Following on from my bit of a nightmare scenario of the fuel pump not being right the new pump finally arrived from the US (woo hoo!). I got straight onto it and it was soon fitted into the fuel tank and powered up – no leaks or issues, phew.
Whilst the fuel tank was out of the car, it was time to finally fix and wire up the rear lights. This was a challenging task as it was almost impossible to get my hands up above the fuel tank, so now with the tank out I had the access to finish the rear wiring.
I also decided to fit the rear spoiler at this stage as access to the fittings for this is restricted being up in the rear panel. To do this I had to use three long socket extension bars from under the back of the car to reach them. Note to self: In future read the build manual fully before embarking on a task that needs arms like Mr. Tickle from the Mr. Men books! The manual does state to leave the rear boot panel out until after the body is fitted so you can reach all the areas inside the oval rear end. I didn’t really want to remove the rear panel which was all bonded and Dynamatted in but I managed it.
I do tend to waiver from the build manual once the rolling chassis is completed.
I get a buzz from always looking to improve the ‘off the shelf’ items as I’m sure you’ve realised from reading the build diaries to date.
Moving on, with all the rear lights working and rear spoiler fitted it was time to refit the fuel tank and connect the Aeroquip fuel lines – all completed without issue.
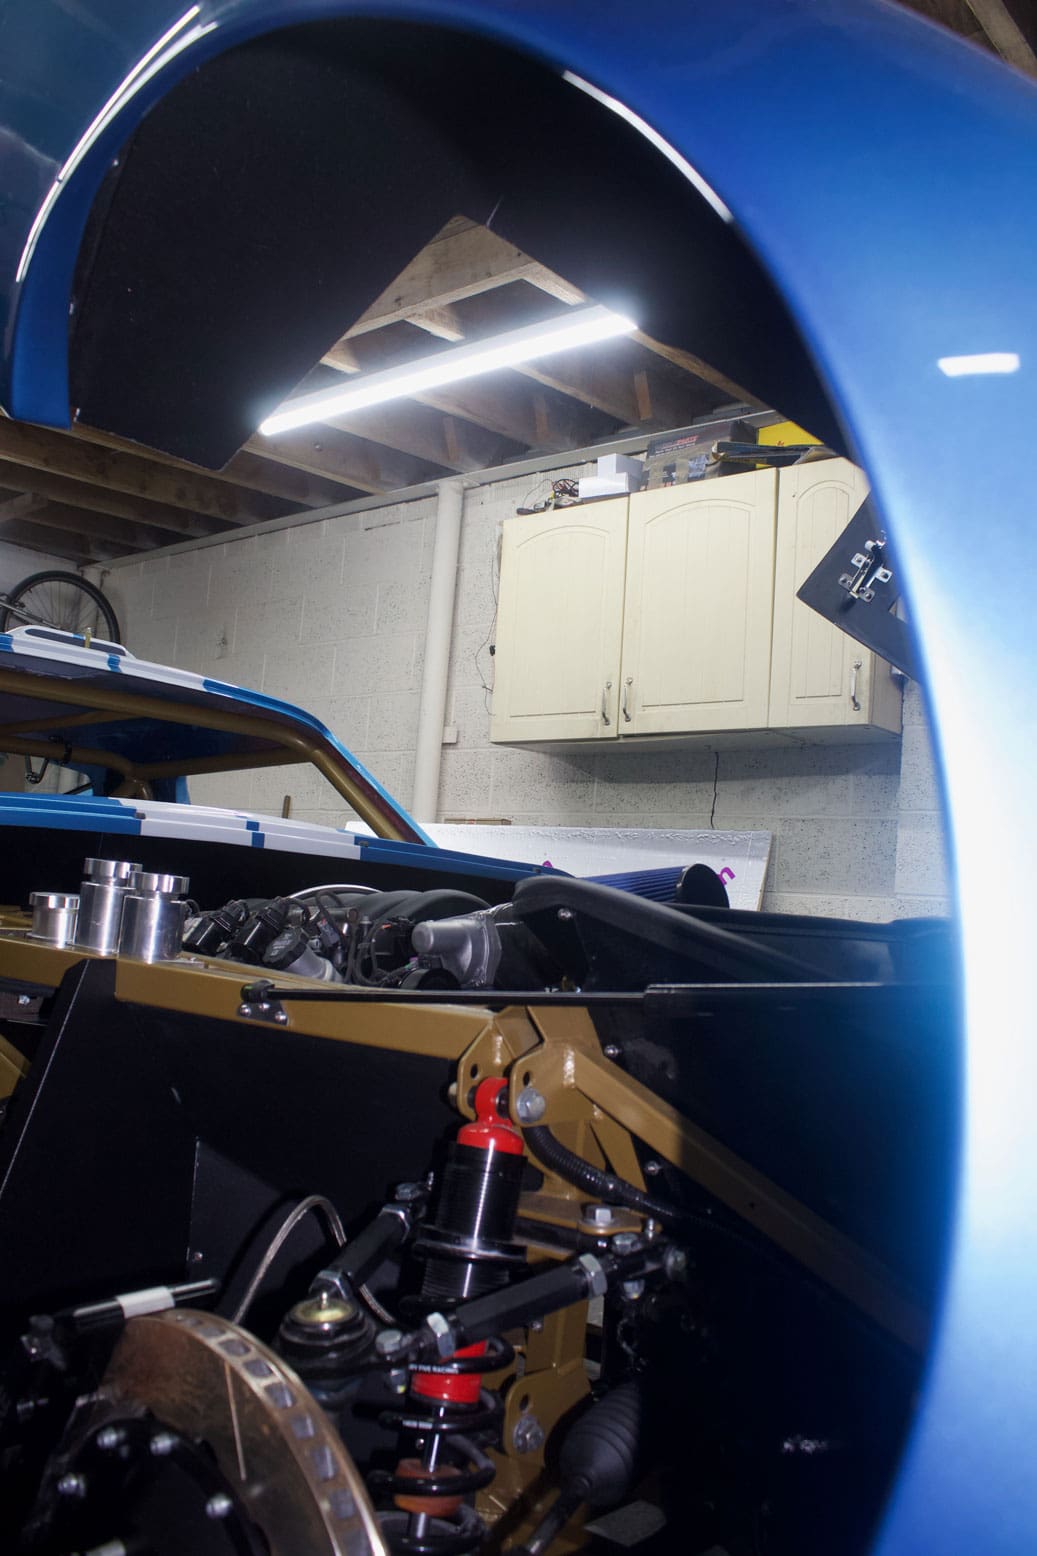
First Engine Fire-Up
Once all this was complete my next task was to refit my custom -made exhausts and finally get excited at the possibility of turning the key for the first time…
After checking all the fluid levels again, it was time to spin the engine over with coil packs disconnected and check for oil pressure.
With everything good to go, then came the nervous part, Will it start? Will it be okay? Will it leak oil or water? All these questions were going round in my head before I finally took large intake of breath… Ignition on, Immobiliser set, fuel pressure up to four bar and then the all-important turn of the key. After two rotations of the engine she was brought to life! Wow!
What a superb noise as the engine fired up. Thankfully there were no leaks from the water, or the massive 10 litre dry sump oil systems. Happy days, this made me an extremely happy chappy. Yayyy!
I noticed however that the engine was idling too fast and I realised I hadn’t blanked off the brake vacuum connection on the intake manifold. The vacuum from the manifold is not required on this build as I am not running servo assisted brakes. With this blanked off the engine levelled out and idled steadily.


Following this success I fitted the carpets within the boot area, this being the first part of the car to be fully completed. The task turned out to be quite tricky as feeding carpets behind the roll cage and the side panels where there is little to no space was challenging, however after a lot of perseverance, piece by piece I got there in the end.
Next up was to refit the rear screen which had been stored in the house (spare room) since the car went for paint. This had already been fitted prior to painting so this was an easy job to do. The next task was more difficult – refitting the massive Bonnet which, to be honest I had not been looking forward to due to the sheer size of it and not wishing to damage the paint work.
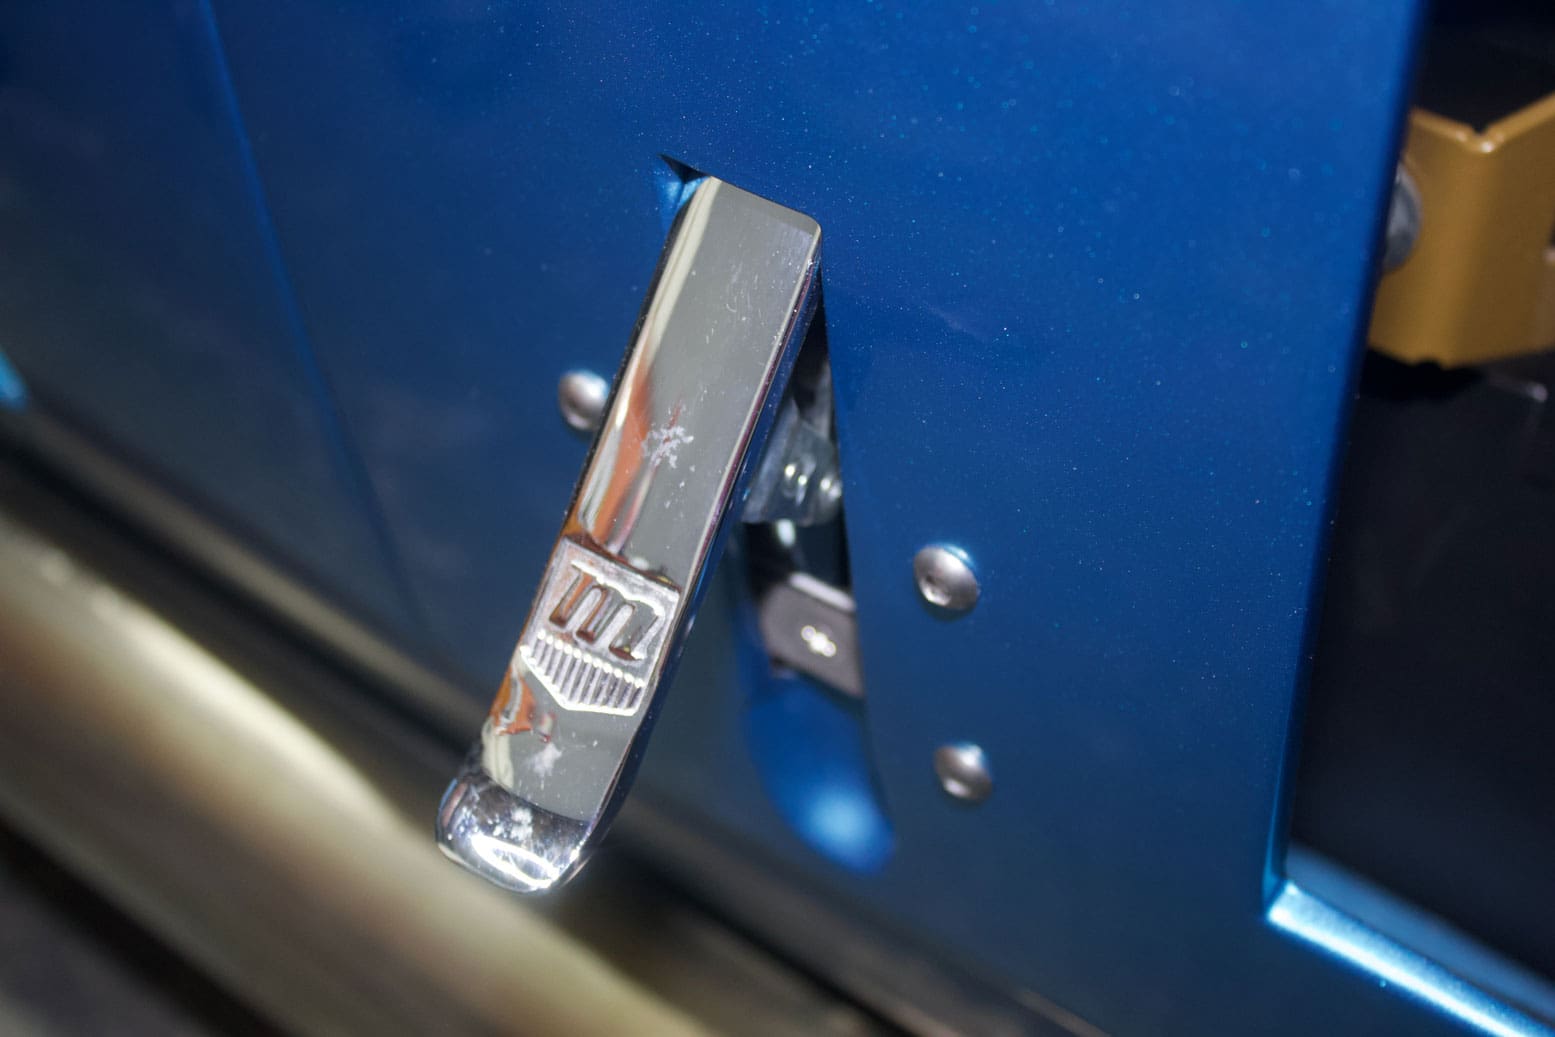
After installing the large rose jointed brackets and hinges I carefully shoehorned the Bonnet under them and installed the four fixing point bolts, two within the lower fog light housing and two under the front panel of the Bonnet.I spent lots of time previously ensuring the ‘shut lines’ on the bonnet were correct prior to the car going for paint so I was confident it would all be okay.
I also took advice from a Coupe builder in the USA, copying his nice alignment trick with the bonnet. It’s a considerably basic but remarkably effective design consisting of some shaped 1/8″ aluminium plates, manufactured steel angle brackets and four rollerblade wheels which have two wheels on each side.
Due to the bonnet having such a deep side, it’s difficult to get a good straight line to the main body. The angle brackets and aluminium plates provided a firm fixing to the chassis with the rollerblade wheels then bolting onto these. These can be adjusted with slots to guide and align the Bonnet when it is lowered into position.
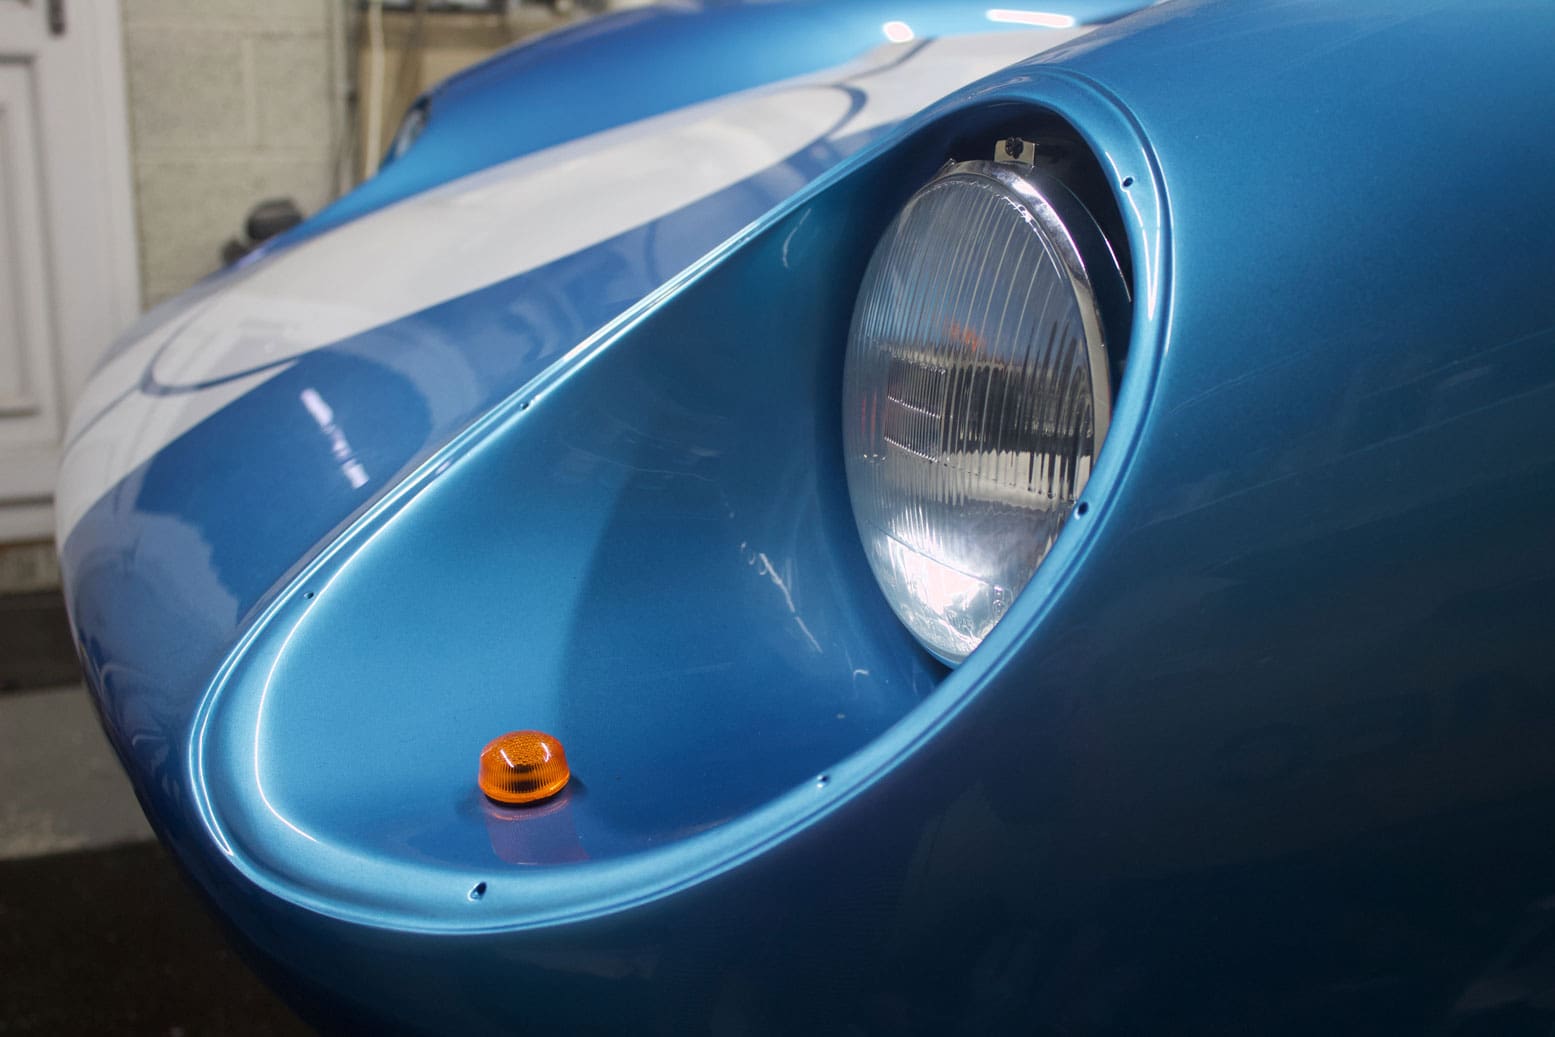
The Rollerblade wheels are ideal for this as they are manufactured using soft silicone rubber and do not damage the paint work inside the Bonnet.On to the next job which was to install/connect the headlights and front indicators.
Finding no wiring in the loom for the side indicator repeaters meant I had another job to do.
Out came the soldering iron and heat shrink sleeving to install the necessary wiring, routing the cables neatly along the inner wings.
All the lighting electrical connections on the car (as with all my other builds) have been installed using ‘Superseal’ connectors. I find these exceptionally reliable and long-lasting. Yes, they are time consuming and fiddly to install however, definitely worth the effort. We are now rapidly approaching the time where I will be applying for the IVA test of the car and hopefully have it registered and ready for the road in spring 2023.